
Bath Tissue Pumpkins
September 1, 2021 9:01 am
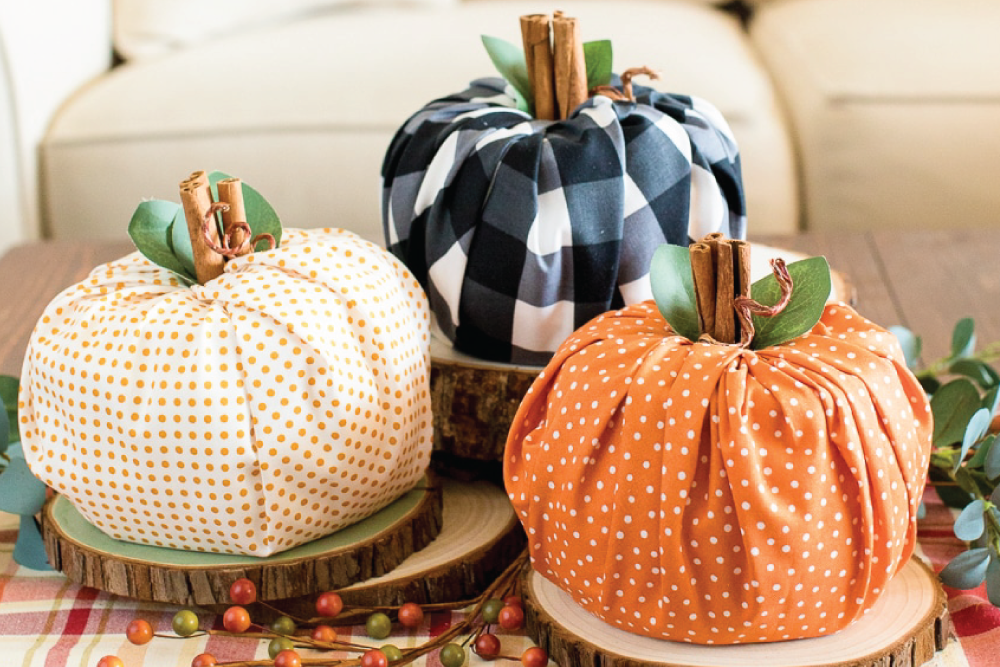
Do you need a simple, fun fall decor craft you can make in under 30 minutes? These bath tissue pumpkins are such a fun way to add a touch of fall to any room in the house. You can personalize these pumpkins to match whatever decorating style you love.
Supplies Needed:
- Large Roll of bath tissue
- 18-20 inch square piece of fabric
- Green ribbon or leaves for the stem
- 4 inch piece of branch or a few cinnamon sticks
Instructions:
- Unroll the bath tissue about 10 times, and then roll it loosely back up to give more of a round shape.
- Lay out your fabric and place the bath tissue in the center.
- Grab one corner of the fabric and tuck it inside of the bath tissue roll. Slowly work your way around gathering up the fabric and tucking each corner into the roll.
- Tie a ribbon around your branch piece and stuff it into the center.
Helpful Tips:
- The more bath tissue that you unravel and wrap around, the larger your pumpkin will be. Keep this in mind when cutting your fabric. A mega size roll combined with lots of unraveling will probably require a 20 inch square piece of fabric.
- A thicker fabric like flannel makes it easier to disguise the shape of the bath tissue roll, giving you a more natural looking pumpkin.
- For the stem, you can also use several sticks tied together if you can’t find anything thick enough to compliment your pumpkin (easy to find at a park). Cinnamon sticks also look nice!
- Fake leaves can also be used in place of the ribbon.
Find other fun crafts at Instrupix.com.
Categorized in: DESIGN TRENDS, DIY
This post was written by Matt Huston


 © 2024 Brighton | All Rights Reserved. |